
How to Build a Drumset Screen Setup for Drum Lessons and Practice
How to Build a Drumset Screen Setup for Lessons, Practice, and Live Performance
If you teach drum lessons, play gigs, or practice with digital sheet music and online tools, building a dedicated drumset screen setup can completely change your workflow. Instead of balancing a laptop on a chair or constantly reaching for your phone, you can mount a compact screen directly next to your kit and mirror your computer display in real time.
This setup works especially well for drum teachers using digital lesson systems, groove generators, online sheet music, play-along tracks, YouTube videos, click tracks, or interactive practice tools. In my case, I built this setup specifically to use my Adaptive Drumset Groove Generator system during drum lessons, and it has become one of the most useful upgrades in my teaching studio.
What Is a Drumset Screen Setup?
Think of it like an electronic music stand for drummers. It is essentially a small mounted monitor or tablet positioned near your drumset that displays lesson materials, grooves, charts, exercises, backing tracks, or mirrored computer content.
Some people call these:
Drumset monitor setups
Electronic music stands
Drum lesson display systems
Mounted drumset screens
Drum practice monitor rigs
Digital drum lesson stations
No matter what you call it, the goal is the same. You keep important lesson and practice content directly in your line of sight while playing.
Why This Setup Works So Well for Drum Lessons
Traditional music stands are fine for paper. But digital teaching tools are becoming more common every year. A mounted drumset screen gives you access to:
Drum notation software
Metronome apps
Drum charts and setlists
For drum teachers, this can make lessons faster, more interactive, and more organized.
For students, it feels modern and engaging. Also, students immediately think the setup looks cool, which honestly matters more than drummers like to admit.
The Basic Equipment You Need
Here is the basic hardware list for creating a portable drumset monitor setup.
1. Small HDMI Monitor or Portable Display
You will need a compact monitor, usually around 10" to 15". A smaller screen works surprisingly well because it sits close to the player.
Look for:
HDMI input
Lightweight design
VESA mount compatibility if possible
USB powered options
Matte screen finish to reduce glare
2. Tablet or Monitor Mount
You need a clamp or mount that attaches to a mic stand or drum hardware.
I use this monitor mount / iPad mount / tablet mount!
Good mounting options include:
Tablet holders
VESA monitor clamps
Adjustable gooseneck mounts
Multi-angle monitor brackets
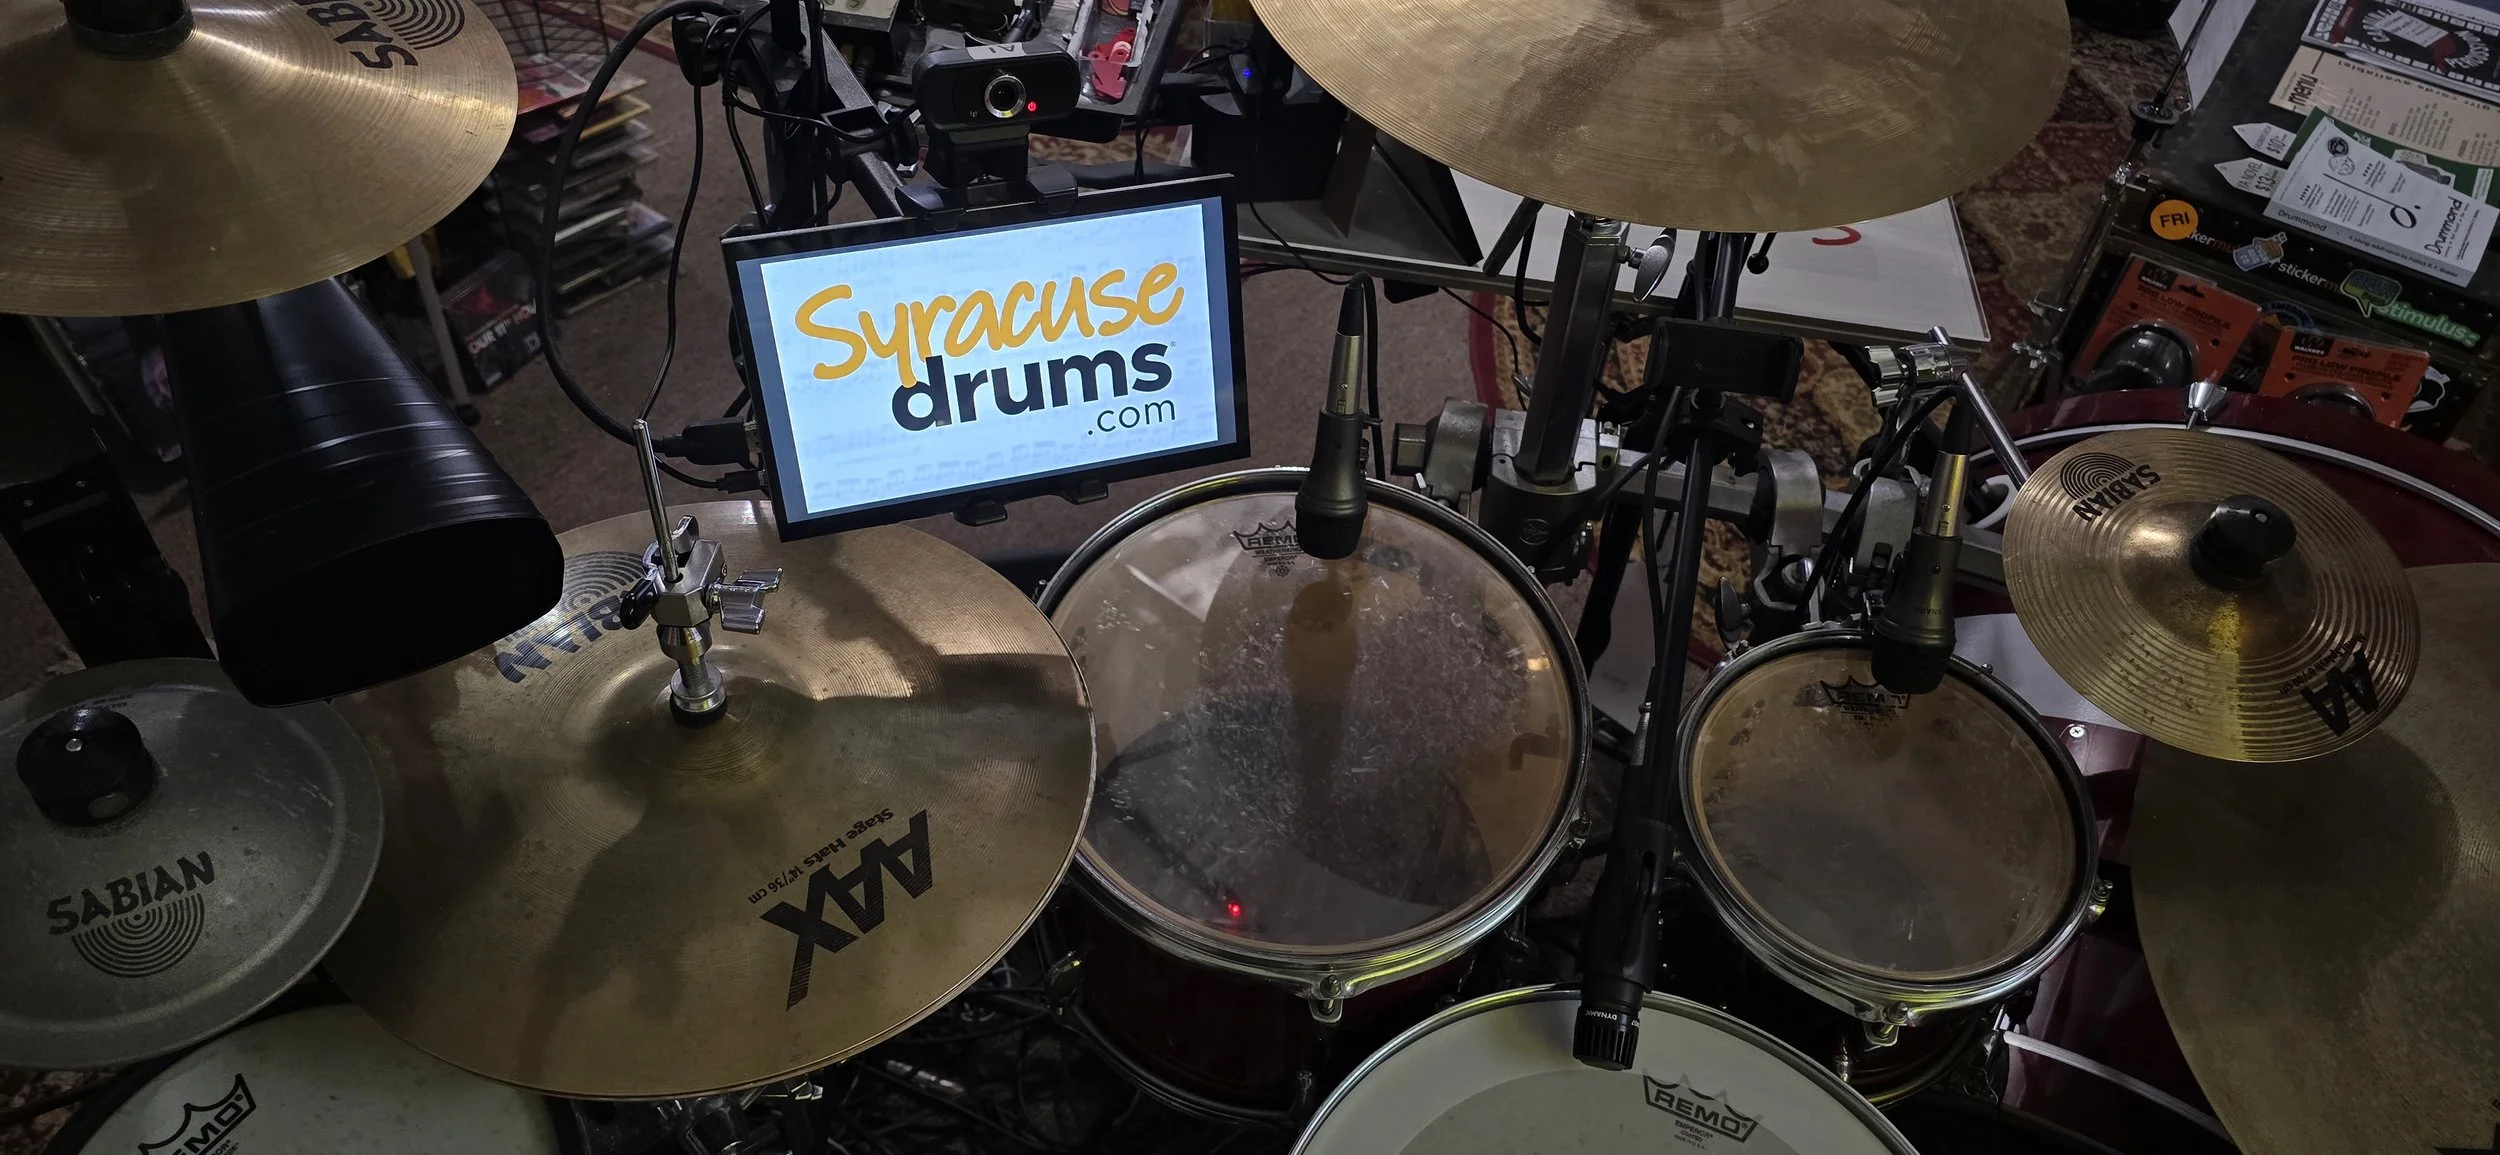
Positioning matters. You want the screen visible without blocking cymbals or stick movement.
3. HDMI Cable
This connects the monitor to your laptop or desktop computer.
If your computer only has USB-C outputs, you may also need a USB-C to HDMI adapter.
4. Mic Stand for Portable Mounting
A standard boom mic stand works perfectly because it is portable, adjustable, and easy to reposition around the drumset.
I use this mic stand to mount my screen on!
This is honestly one of the smartest parts of the setup because you can quickly break everything down for gigs, rehearsals, clinics, or teaching outside your home studio.
5. Laptop Tray Clamp
This is optional, but extremely useful if you want your full computer setup attached to the same stand.
I use this laptop stand, but you might also find this trap clamp useful too!
You can place:
A laptop
Audio interface
Small mixer
Practice pad
Notebook
Stream deck
Basically, it turns one mic stand into a full drum teaching workstation.
How to Connect Everything
The setup process is simple:
Mount the screen to the mic stand
Connect the HDMI cable from the monitor to your computer (you may need an HDMI hub adapter!)
Extend or mirror your display in your computer settings
Position the screen near your hi hat or rack tom area
Open your lesson materials or groove generator
Most computers automatically detect the second monitor instantly.
Why I Built This Setup
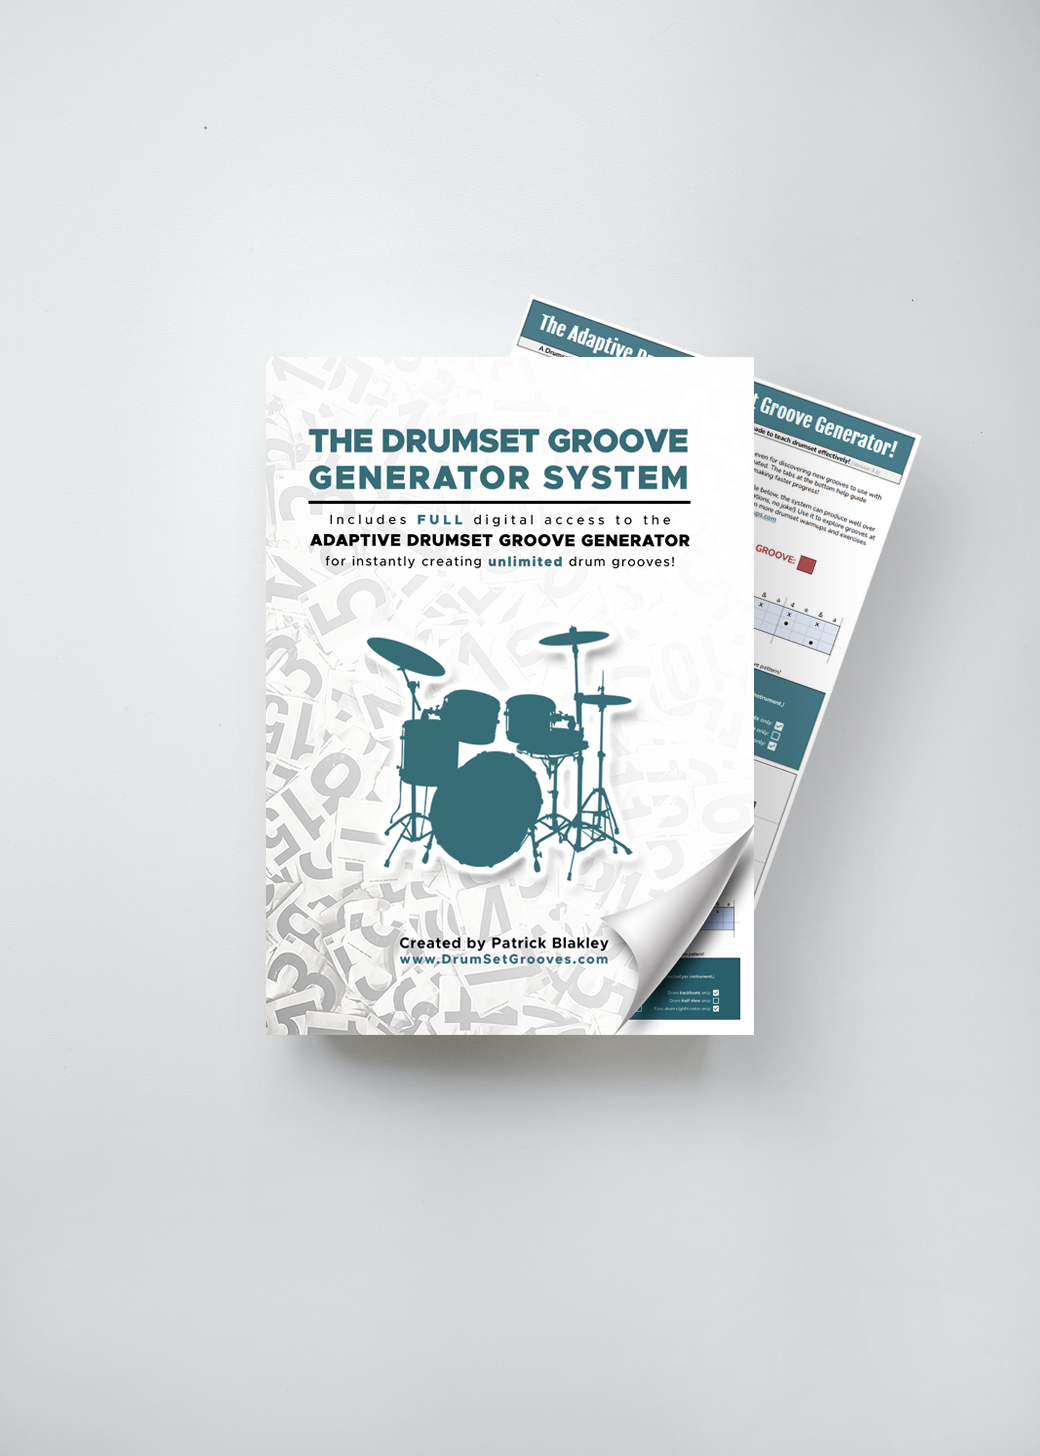
I originally created this system to use with my Adaptive Drumset Groove Generator during lessons.
The Groove Generator is a massive interactive tool designed for drum teachers and drumset students. It instantly creates customized grooves, reading exercises, coordination patterns, variations, and lesson material that can adapt to different student skill levels.
Instead of printing pages constantly, I can display grooves directly beside the kit while teaching. Students can immediately play exercises while visually following the patterns on screen. Better yet, with just one click, I can create new grooves within the ability level of my student! Choose a specific skill and generate all possible grooves that target that metric without doing anything more than clicking one button!
It also makes lessons feel far more interactive than traditional paper methods.
Click the image below to get your copy of the drum groove generator system!
Using the Adaptive Drumset Groove Generator With a Drumset Screen
This setup pairs perfectly with digital drum teaching tools because students can:
Read grooves directly from the kit
Follow along in real time
Watch exercises update instantly
Explore randomized groove combinations
Work on coordination visually
Practice independently between lessons
For teachers, it dramatically speeds up lesson pacing and organization.
If you want to see the full system I use in my own drum studio, you can check out the Adaptive Drumset Groove Generator Bundle here:
Final Thoughts
Digital teaching setups for drummers are becoming more common because they solve real problems. A mounted drumset monitor setup is portable, affordable, and surprisingly easy to build.
Whether you are teaching drum lessons, practicing with backing tracks, running clinics, or modernizing your studio, a drumset screen can make your setup cleaner and more efficient.
And if you are already using digital drum lesson tools or interactive groove systems, this type of setup honestly starts feeling essential pretty quickly.